Achieving perfect finishing on a project while sewing is a dream of a seamstress. It doesn’t only enhance the beauty of the fabric but also tells about your masterliness and experience.
After all, each project needs professionalism, whether you’re working on a dress, curtain, or napkin. Even the corner of table clothes should look attractive with perfect stitching. That’s why we’ve come up with this article to give you answers about how to Sew Mitered Corners? So you can easily sew attractive corners.
Below we’re going to share three easy ways to sew mitred corners flawlessly. So stick with us till the end and sew an attractive 45-degree corner neatly.
Method One to Sew Mitered Corners
Step 1 – Create Hem
Hold the edges of the fabric and fold it up to 12mm on the backside and create hems.
Step 2 – Press the Hem
Press the hem on the backside of the clothes.
Step 3 – Create Double Hem
After the first hem, fold the same amount again on the backside of the cloth to make the double hem.
Step 4 – Press the Double Hem
Now it’s time to press the double hem three to four-time for a perfect edge on the backside.
Note: Follow the same procedure and create first and then the double hem on all sides.
Step 5 – Unfold the Hems
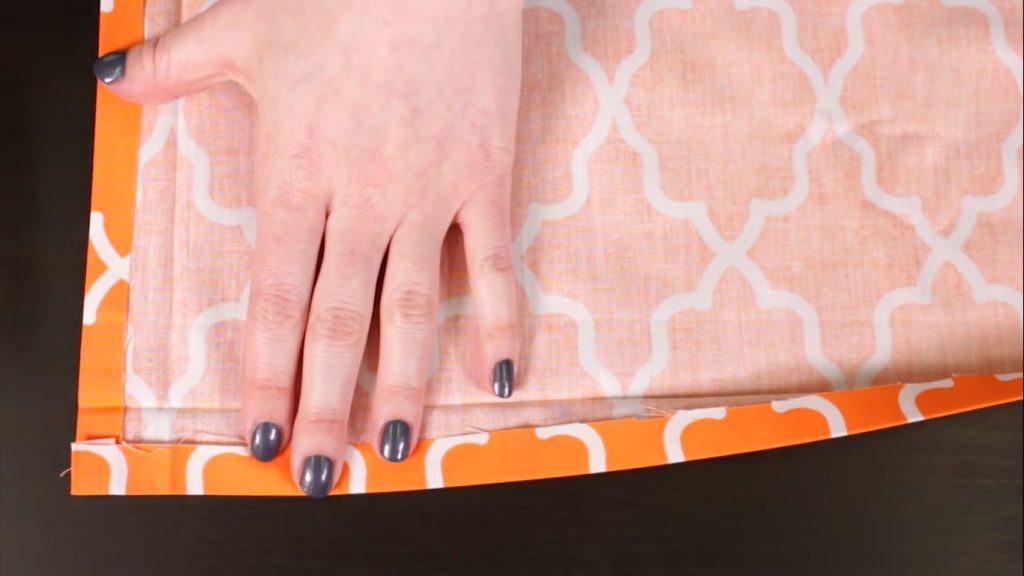
After pressing the hems of all corners, unfold it.
Step 6 – Check the lines and Square Shape.
You can see creases, lines, and particularly a small square in all the corners between the first and second hemline.
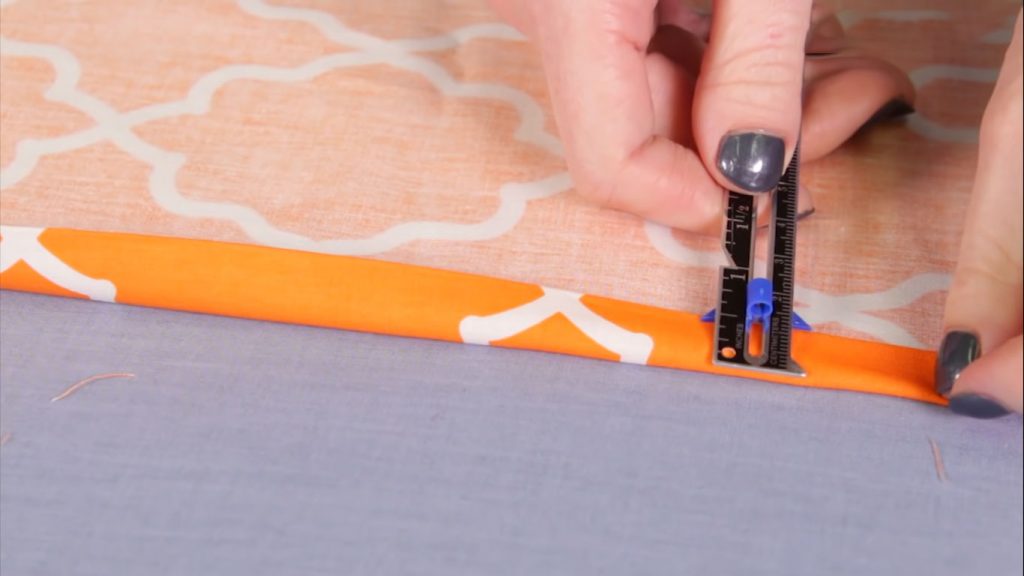
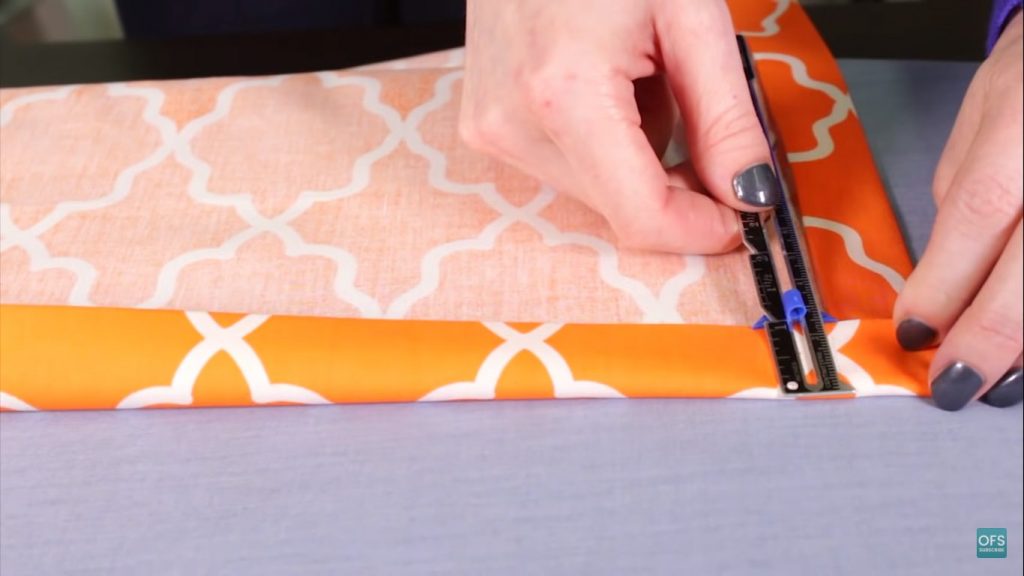
Step 7 – Draw a Diagonal Line
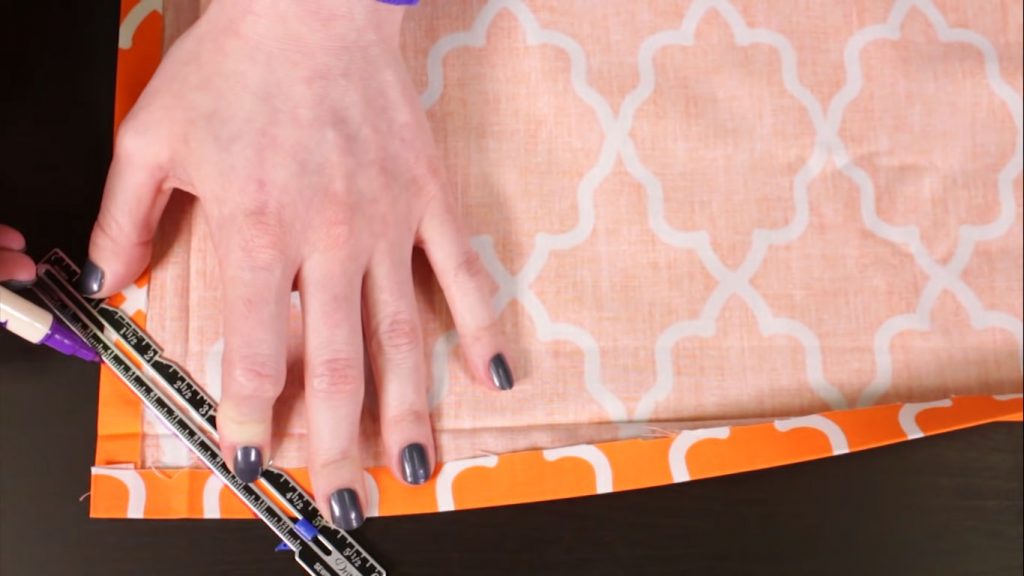
Use a pen or tailor chalk and draw a diagonal line in the corner. Make sure it passes through the centre of the square and touches two inner corners of the square.
Step 8 – Cut the Diagonal Line
Hold scissors and cut across the diagonal line.
Step 9 – Draw Second Diagonal Line
Draw a second diagonal line again below the cut and fold it on the backside of clothes to create another hem on the corner.
Step 10 – Press the Hem on the Corner
Press the hem.
Note: Follow this procedure on all sides.
Step 11 – Refold the Hems of all Sides
Fold all hems again (first and double both sides) as we did initially, and secure it with pins.
Step 12 – Sew All the Corners
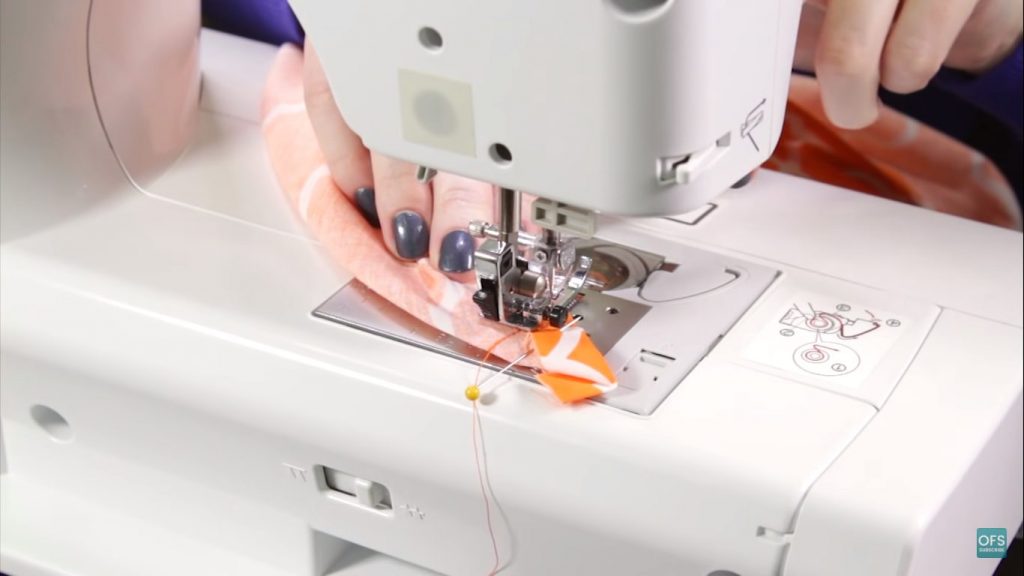
In the end, stitch all the way near the hems.
Method Two to Sew Mitered Corners
Step 1 – Create First Hem
Hold the sides of the clothes and fold them up to ½ or more on the backside.
Step 2 – Press First Hem
Press the first hem correctly till you see the crease lines.
Step 3 – Create Second Hem
To create the double hem, fold the clothes up to ½ or more.
Step 4 – Press the Second Hem
Press the double hem on the backside of the clothes.
Step 5 – Draw Diagonal
Draw a diagonal line in the corner. Make sure it passes through the intersection of the creases line.
Step 6 – Fold the Diagonal Line
Fold the corner (where you draw the diagonal line) in half diagonally on the backside.
Step 7 – Stitch
Stitch through the diagonal line. (You can use a sewing machine or do hand stitching for it)
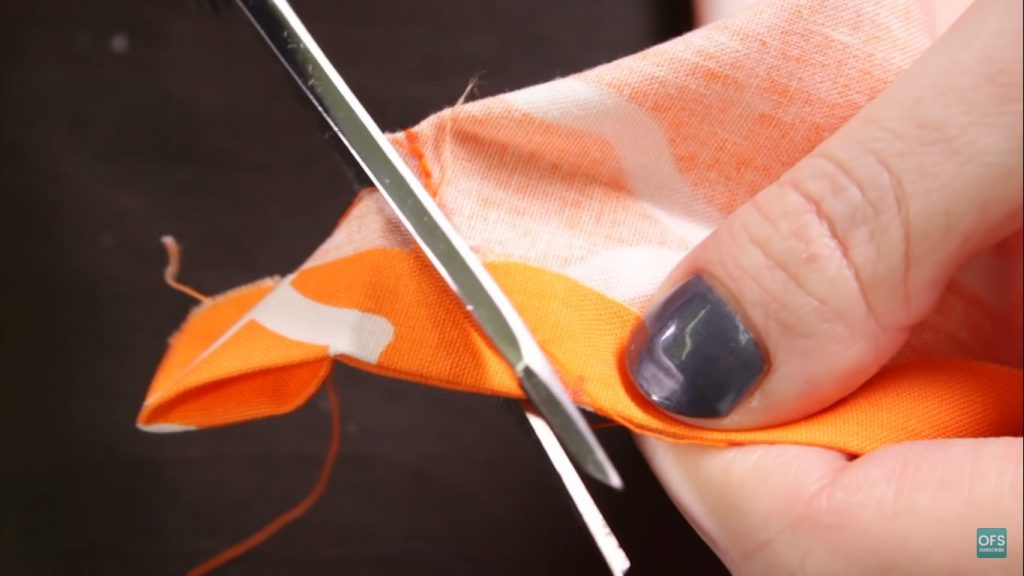
Step 8 – Cut the Extra Part
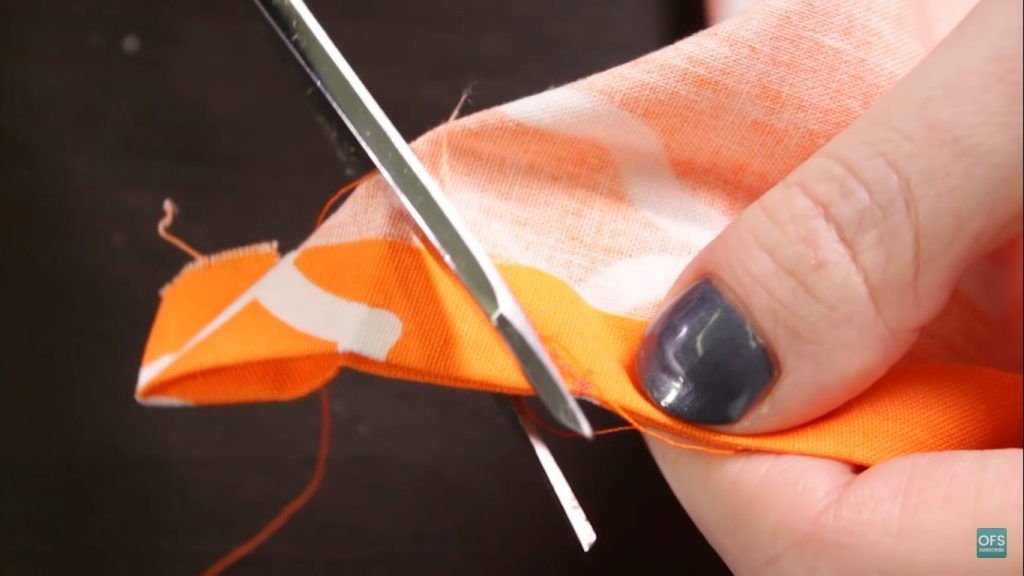
After stitching all the way through the diagonal line, cut the extra part of the top corner.
Step 9 – Turn the Corner
Now turn around the corner from the backside to the right side and use a chopstick or pencil to point out the corner.
Step 10 – Stitch the Hems
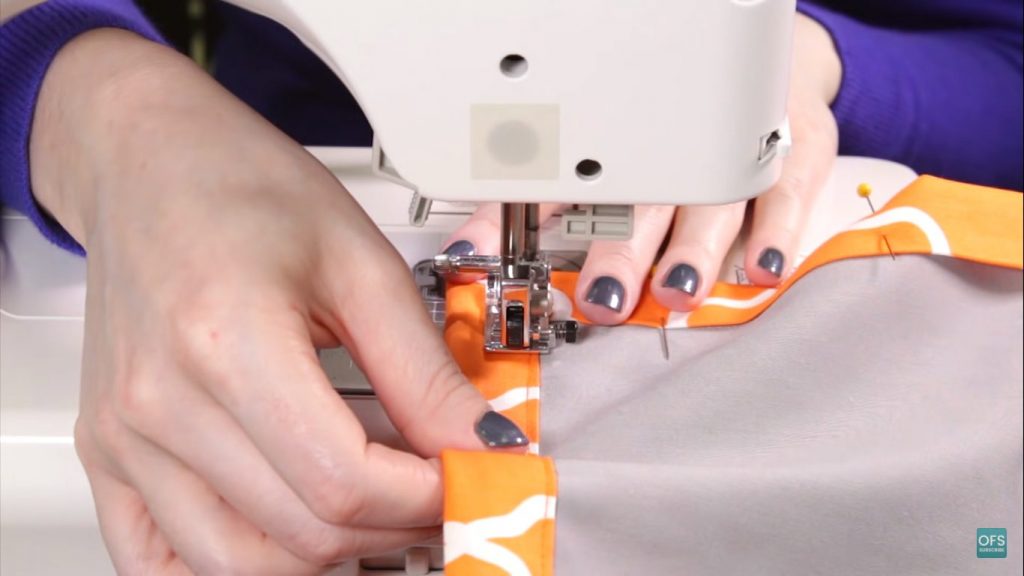
After making the perfect corner, use a sewing machine and stitch around the double or second hem.
Note: Follow the same procedure for other sides.
Method Three to Sew Mitered Corners
It is a simple and time-saving method compared to the techniques I shared above since it only has one hem. So follow the steps below and sew mitred corners easily.
Step 1 – Create Hem
Hold the fabric from the two sides and fold it ½ inch to the backside to create them.
Note: Follow this step to create a hem on all sides of clothes.
Step 2 – Press the Hem
Press the hem two to three times.
Step 3 – Unfold the Hem
Unfold the hem from one side. And mark the connecting point where the crease line of both sides meet.
Step 4 – Create a Triangle
After unfolding the hem from one side, make an upside-down triangle from the corner in a way that it can touch the point you mark. Then press the corner of the triangle and cut the extra part.
Step 5 – Fold the Hem
Finally, fold the other side hem and stitch it.
Conclusion
Never forget that creating a perfect and neatly stitched corner is essential for all projects. It works as icing on the cake, attracts others, and shows your professionalism. So follow our techniques and share your review with us.
You can also comment below and ask any question related to the topic How to sew mitred corners?